Quick flush
What you will need:
- Flushmute
- Kitchen sink
- Power outlet (2-amp USB power cord and adapter supplied)
- Hose and leadpipe elbow (supplied)
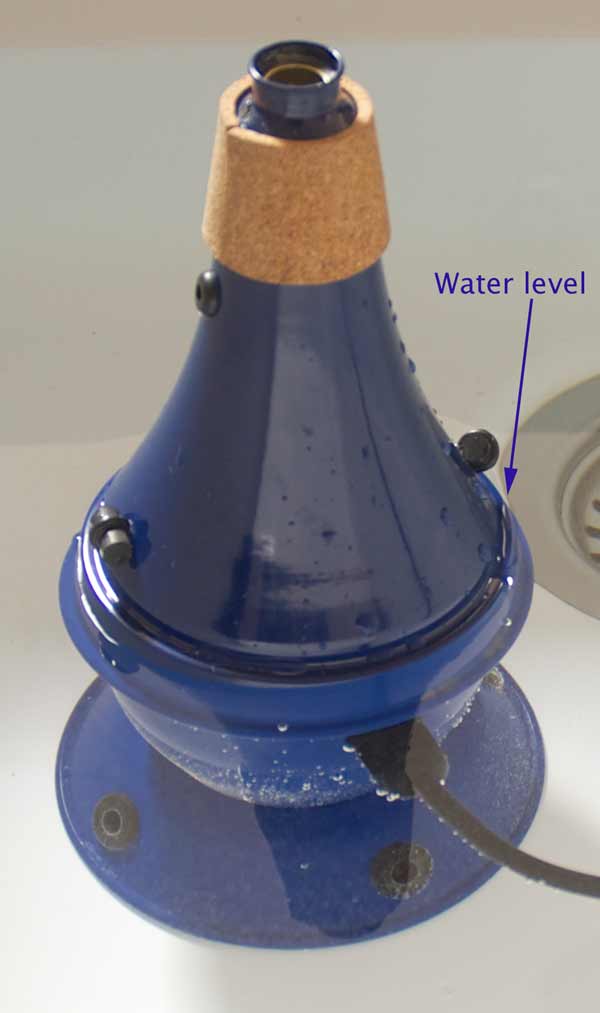
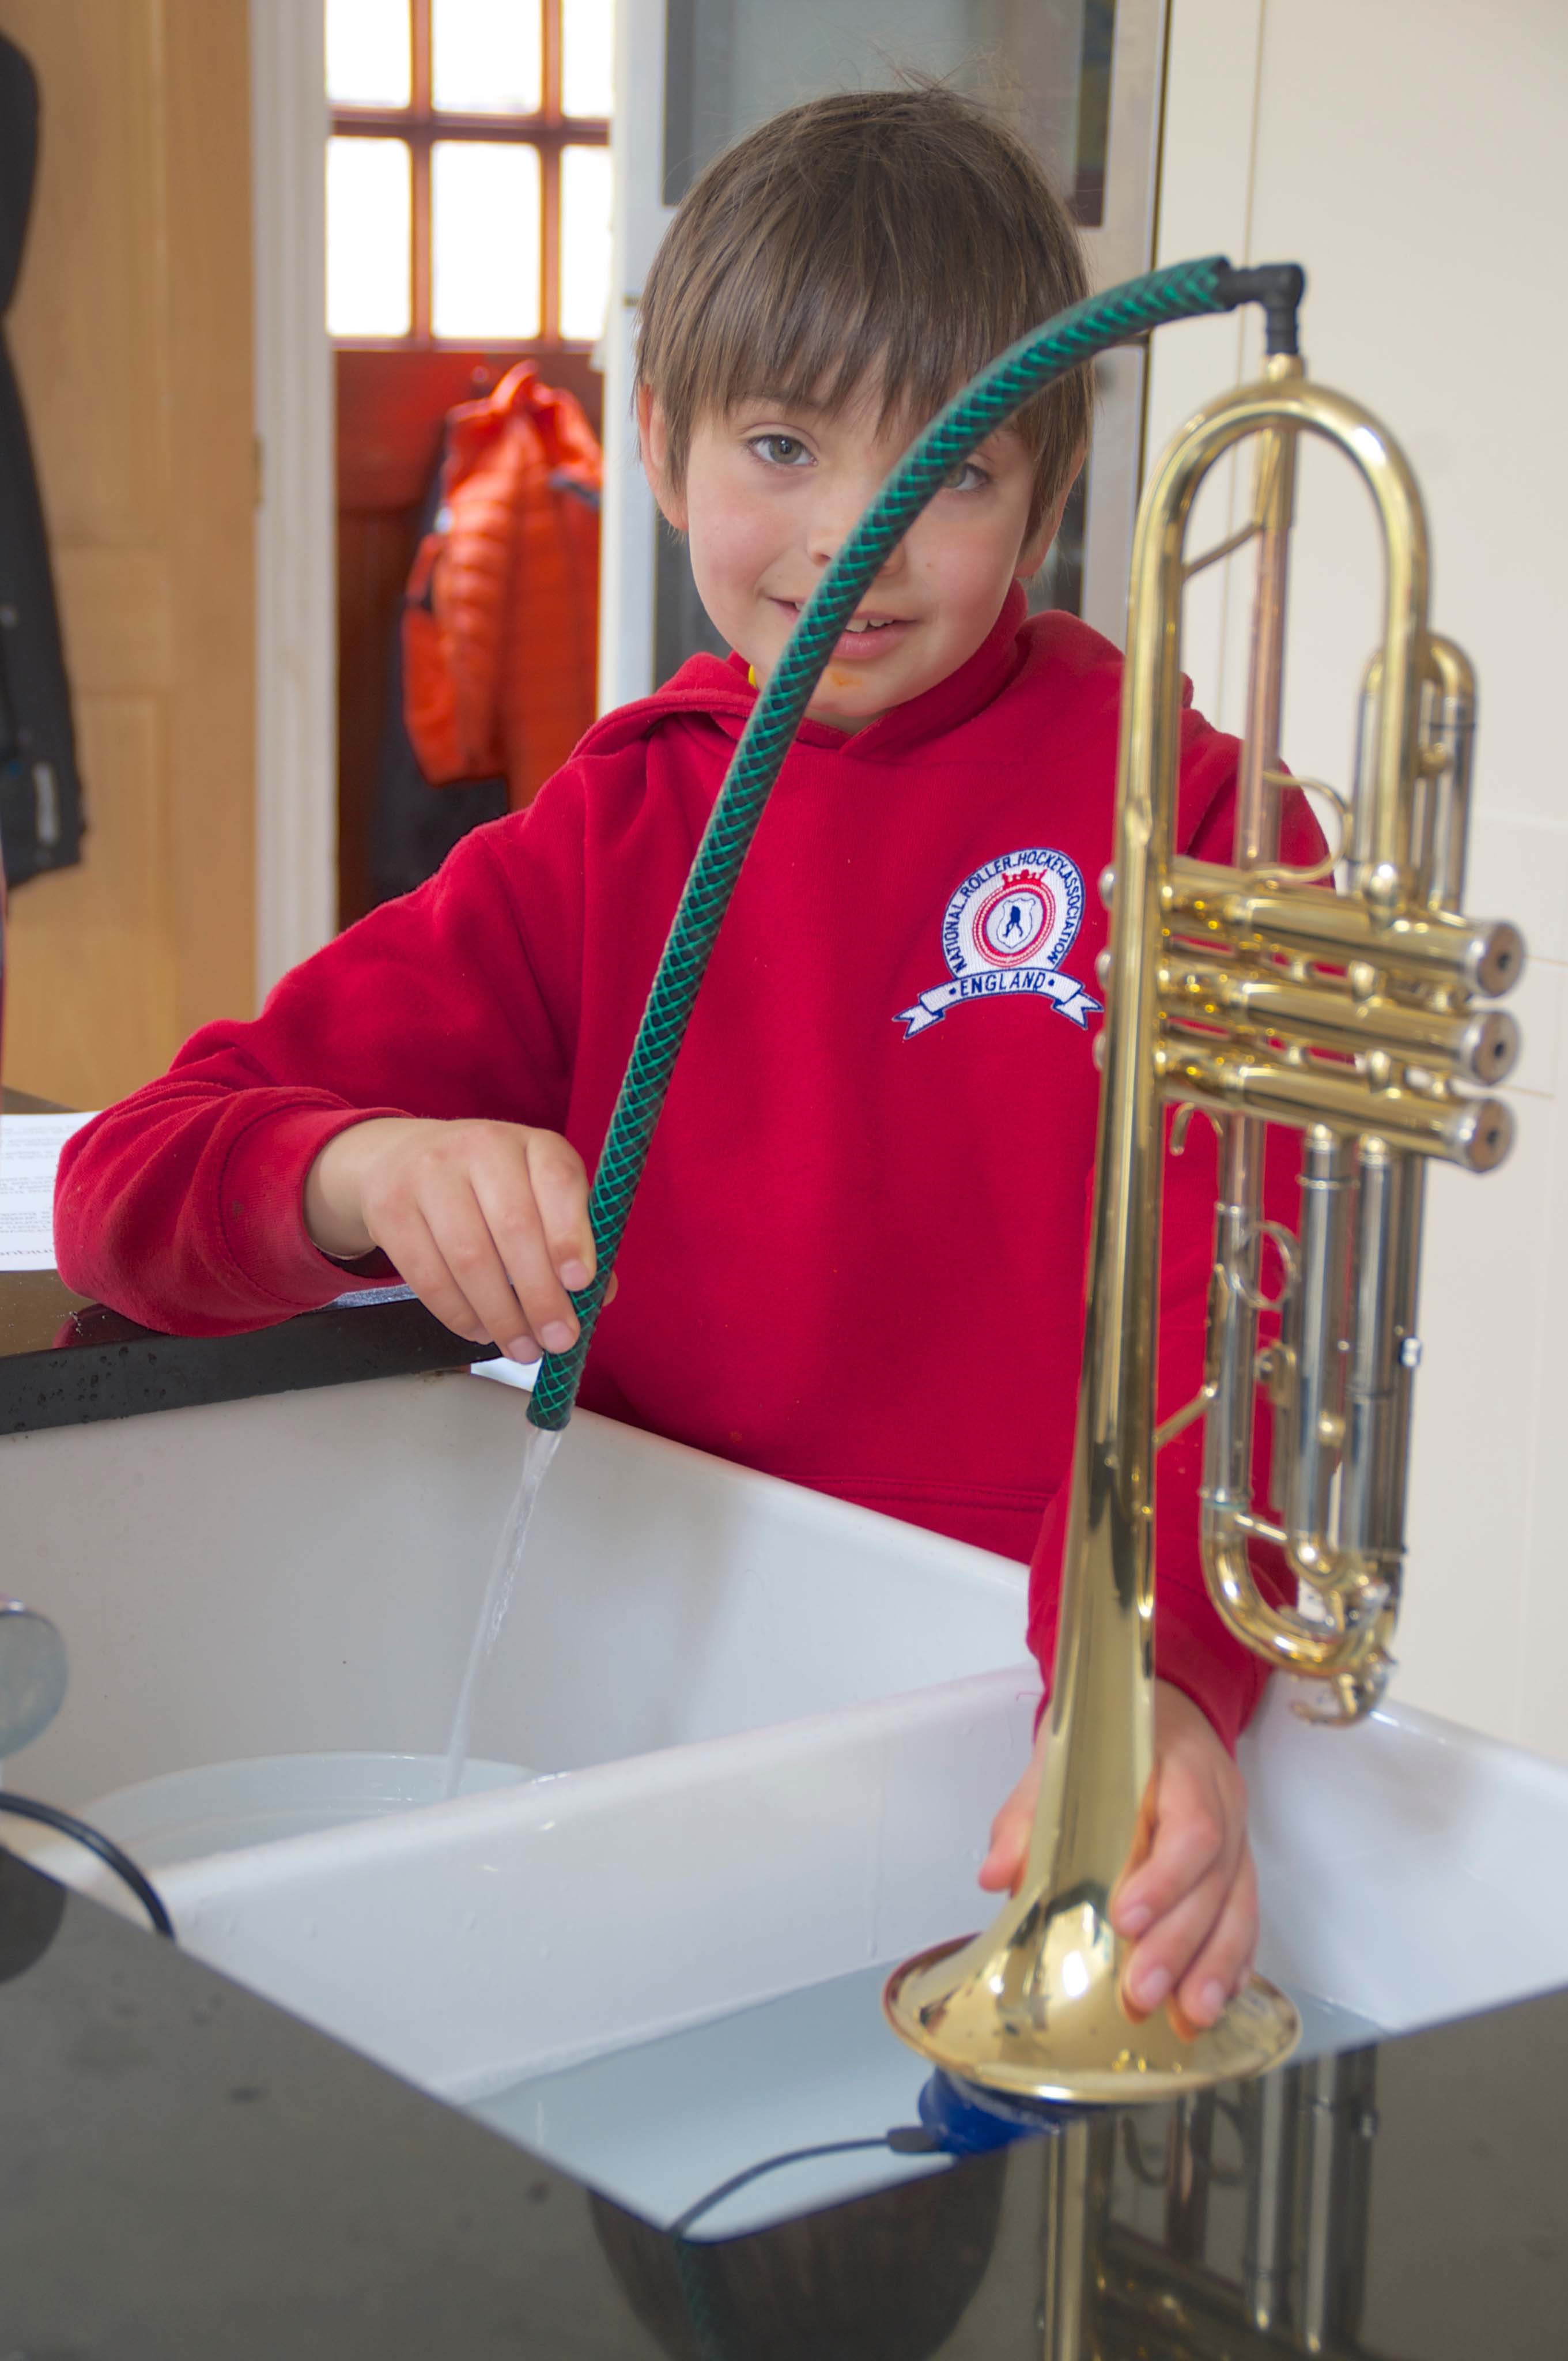
Secure the valve slides with the supplied binders. Insert the exit hose into the trumpet’s mouthpiece receiver. Stand the Flushmute in approximately 4”/10 cm of clean warm water. Place the trumpet on top. Plug in the power cord and rapidly activate the valves.
Warnings:
Do not try to balance the trumpet on the Flushmute. The instrument can easily be held at all times.
Do not run the Flushmute from a computer. Computers do not like water!
Weekly flush
See https://www.youtube.com/watch?v=q5Cg3xM7rtE
What you will need:
- Flushmute
- Kitchen sink
- Plastic bowl or bucket
- Flexible cleaning brush
- Detergent
- Power outlet (2-amp USB power cord and adapter supplied)
- Hose and leadpipe elbow (supplied)
Secure the valve slides with the supplied binders. Insert the exit hose into the trumpet”s mouthpiece receiver. Stand the Flushmute in approximately 4”/10 cm of clean warm water. Place the trumpet on top. Plug in the power cord and rapidly activate the valves.
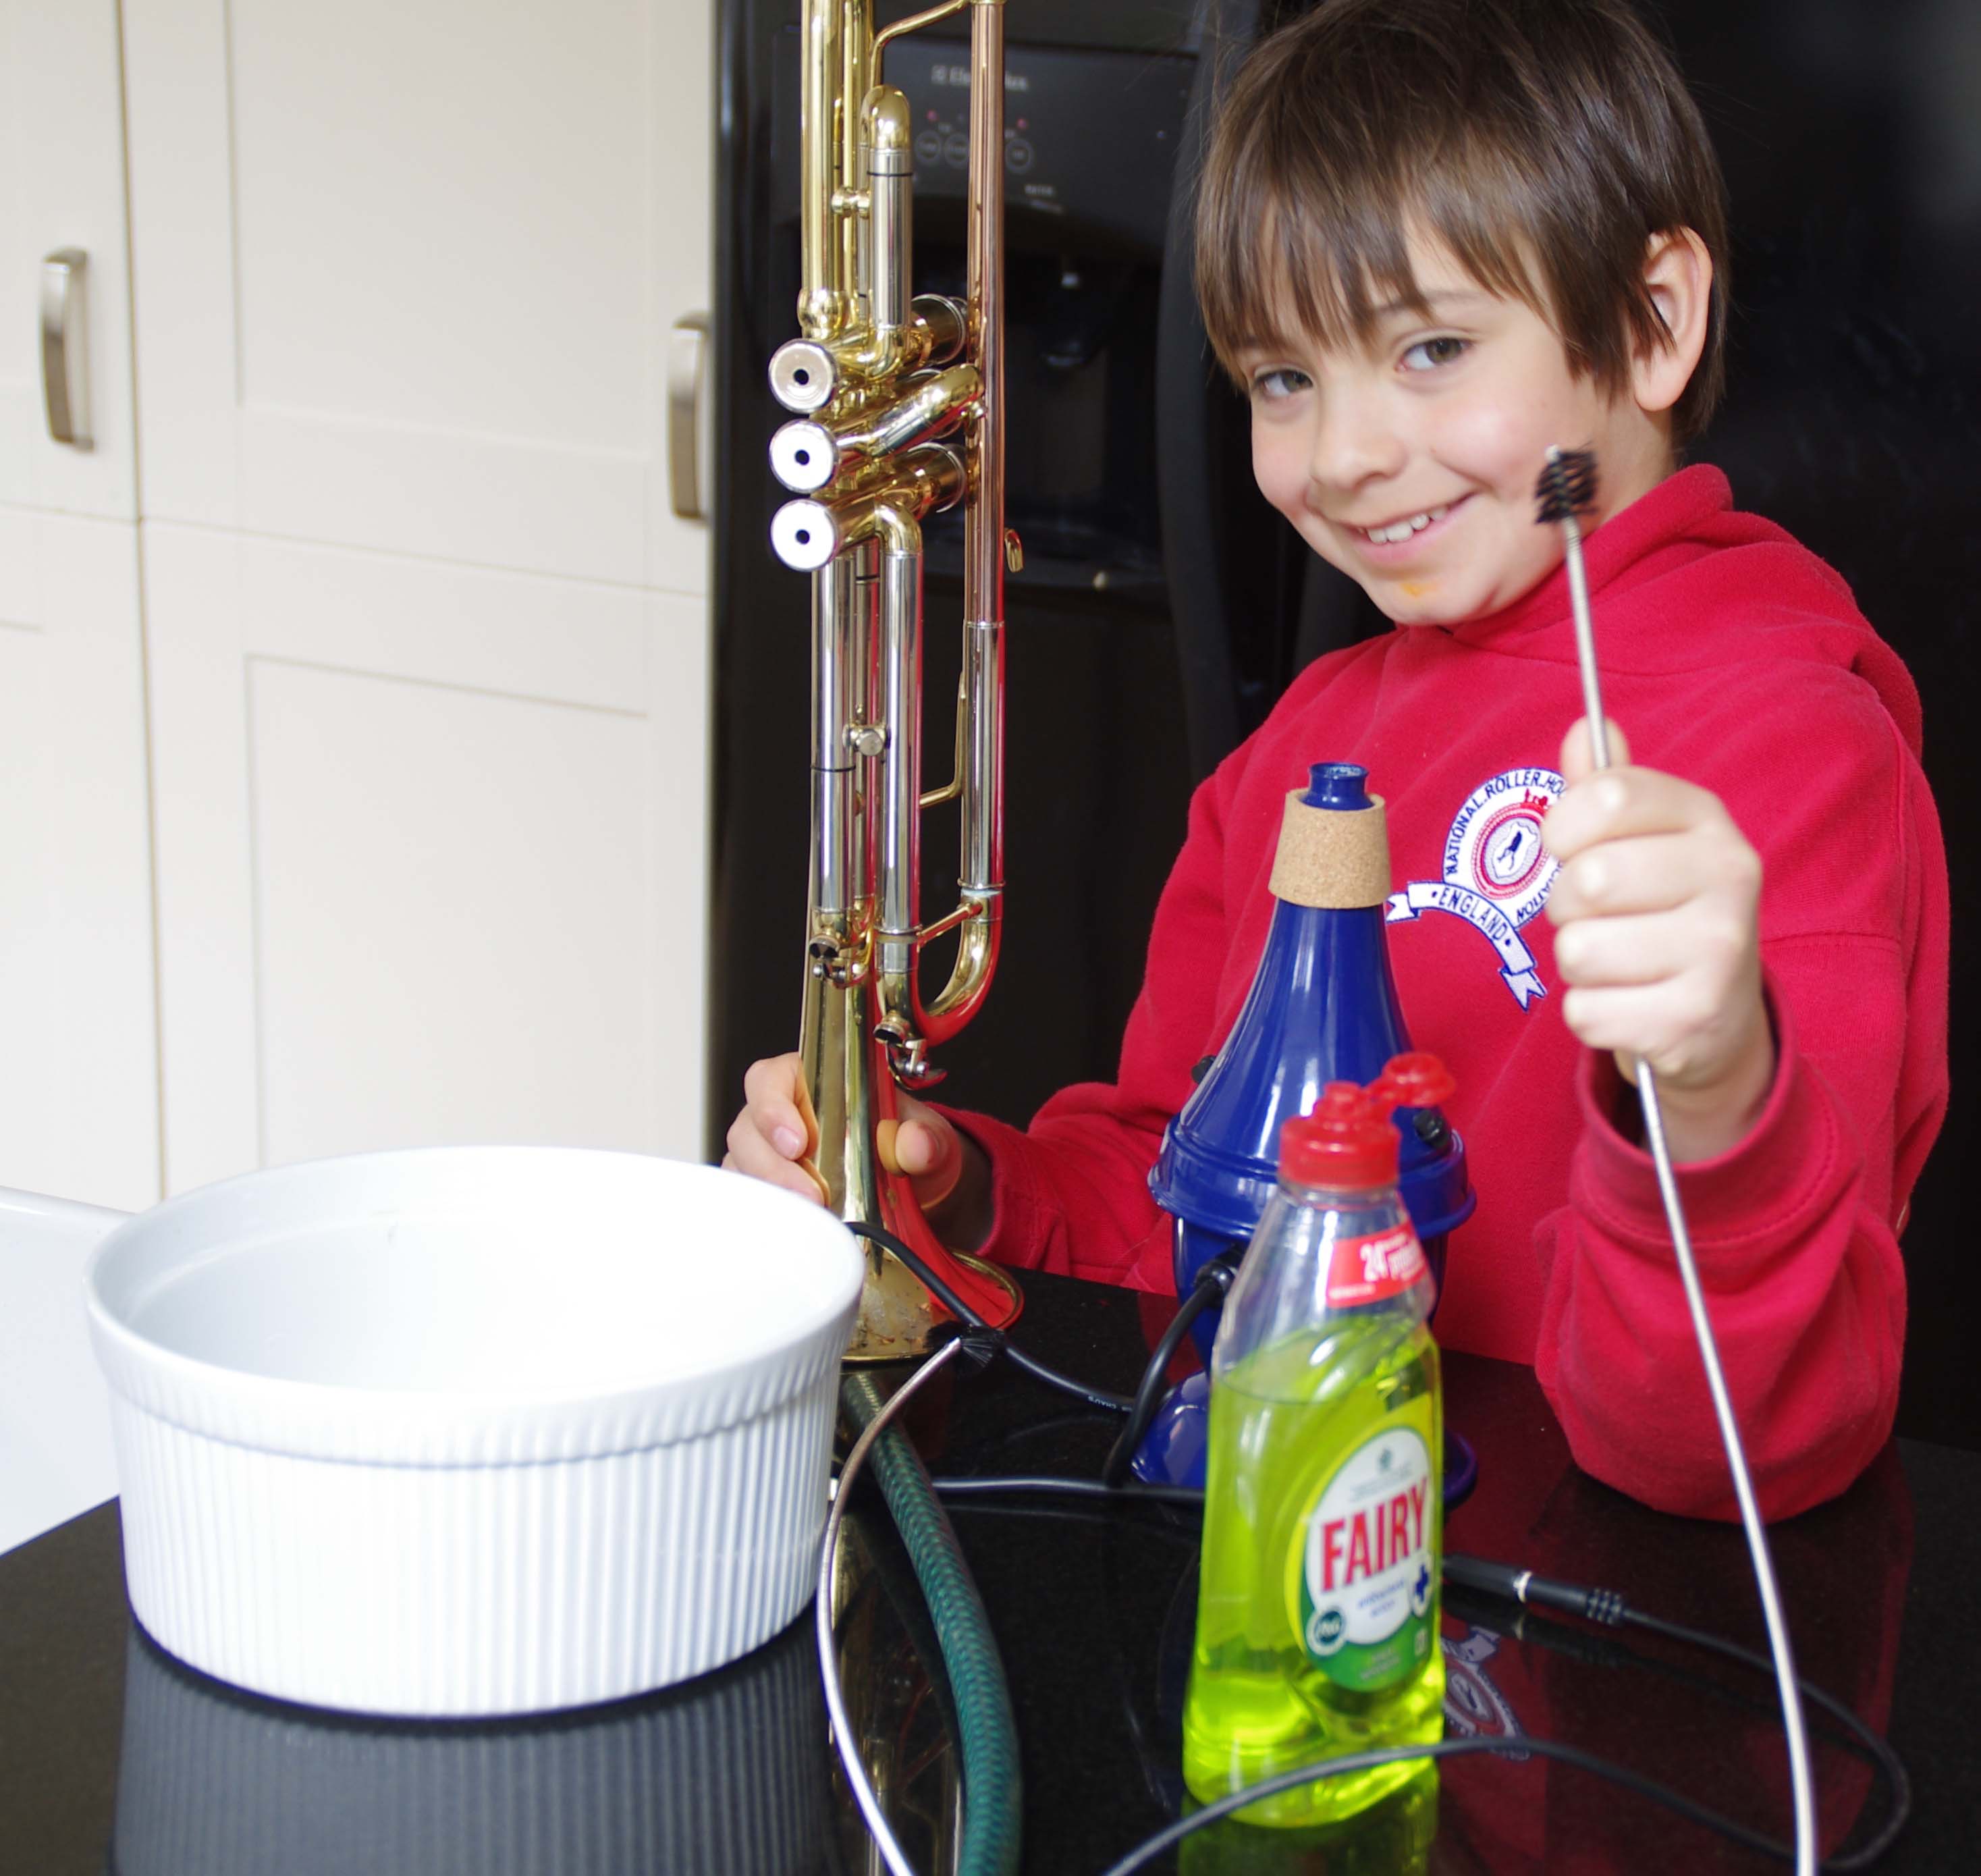
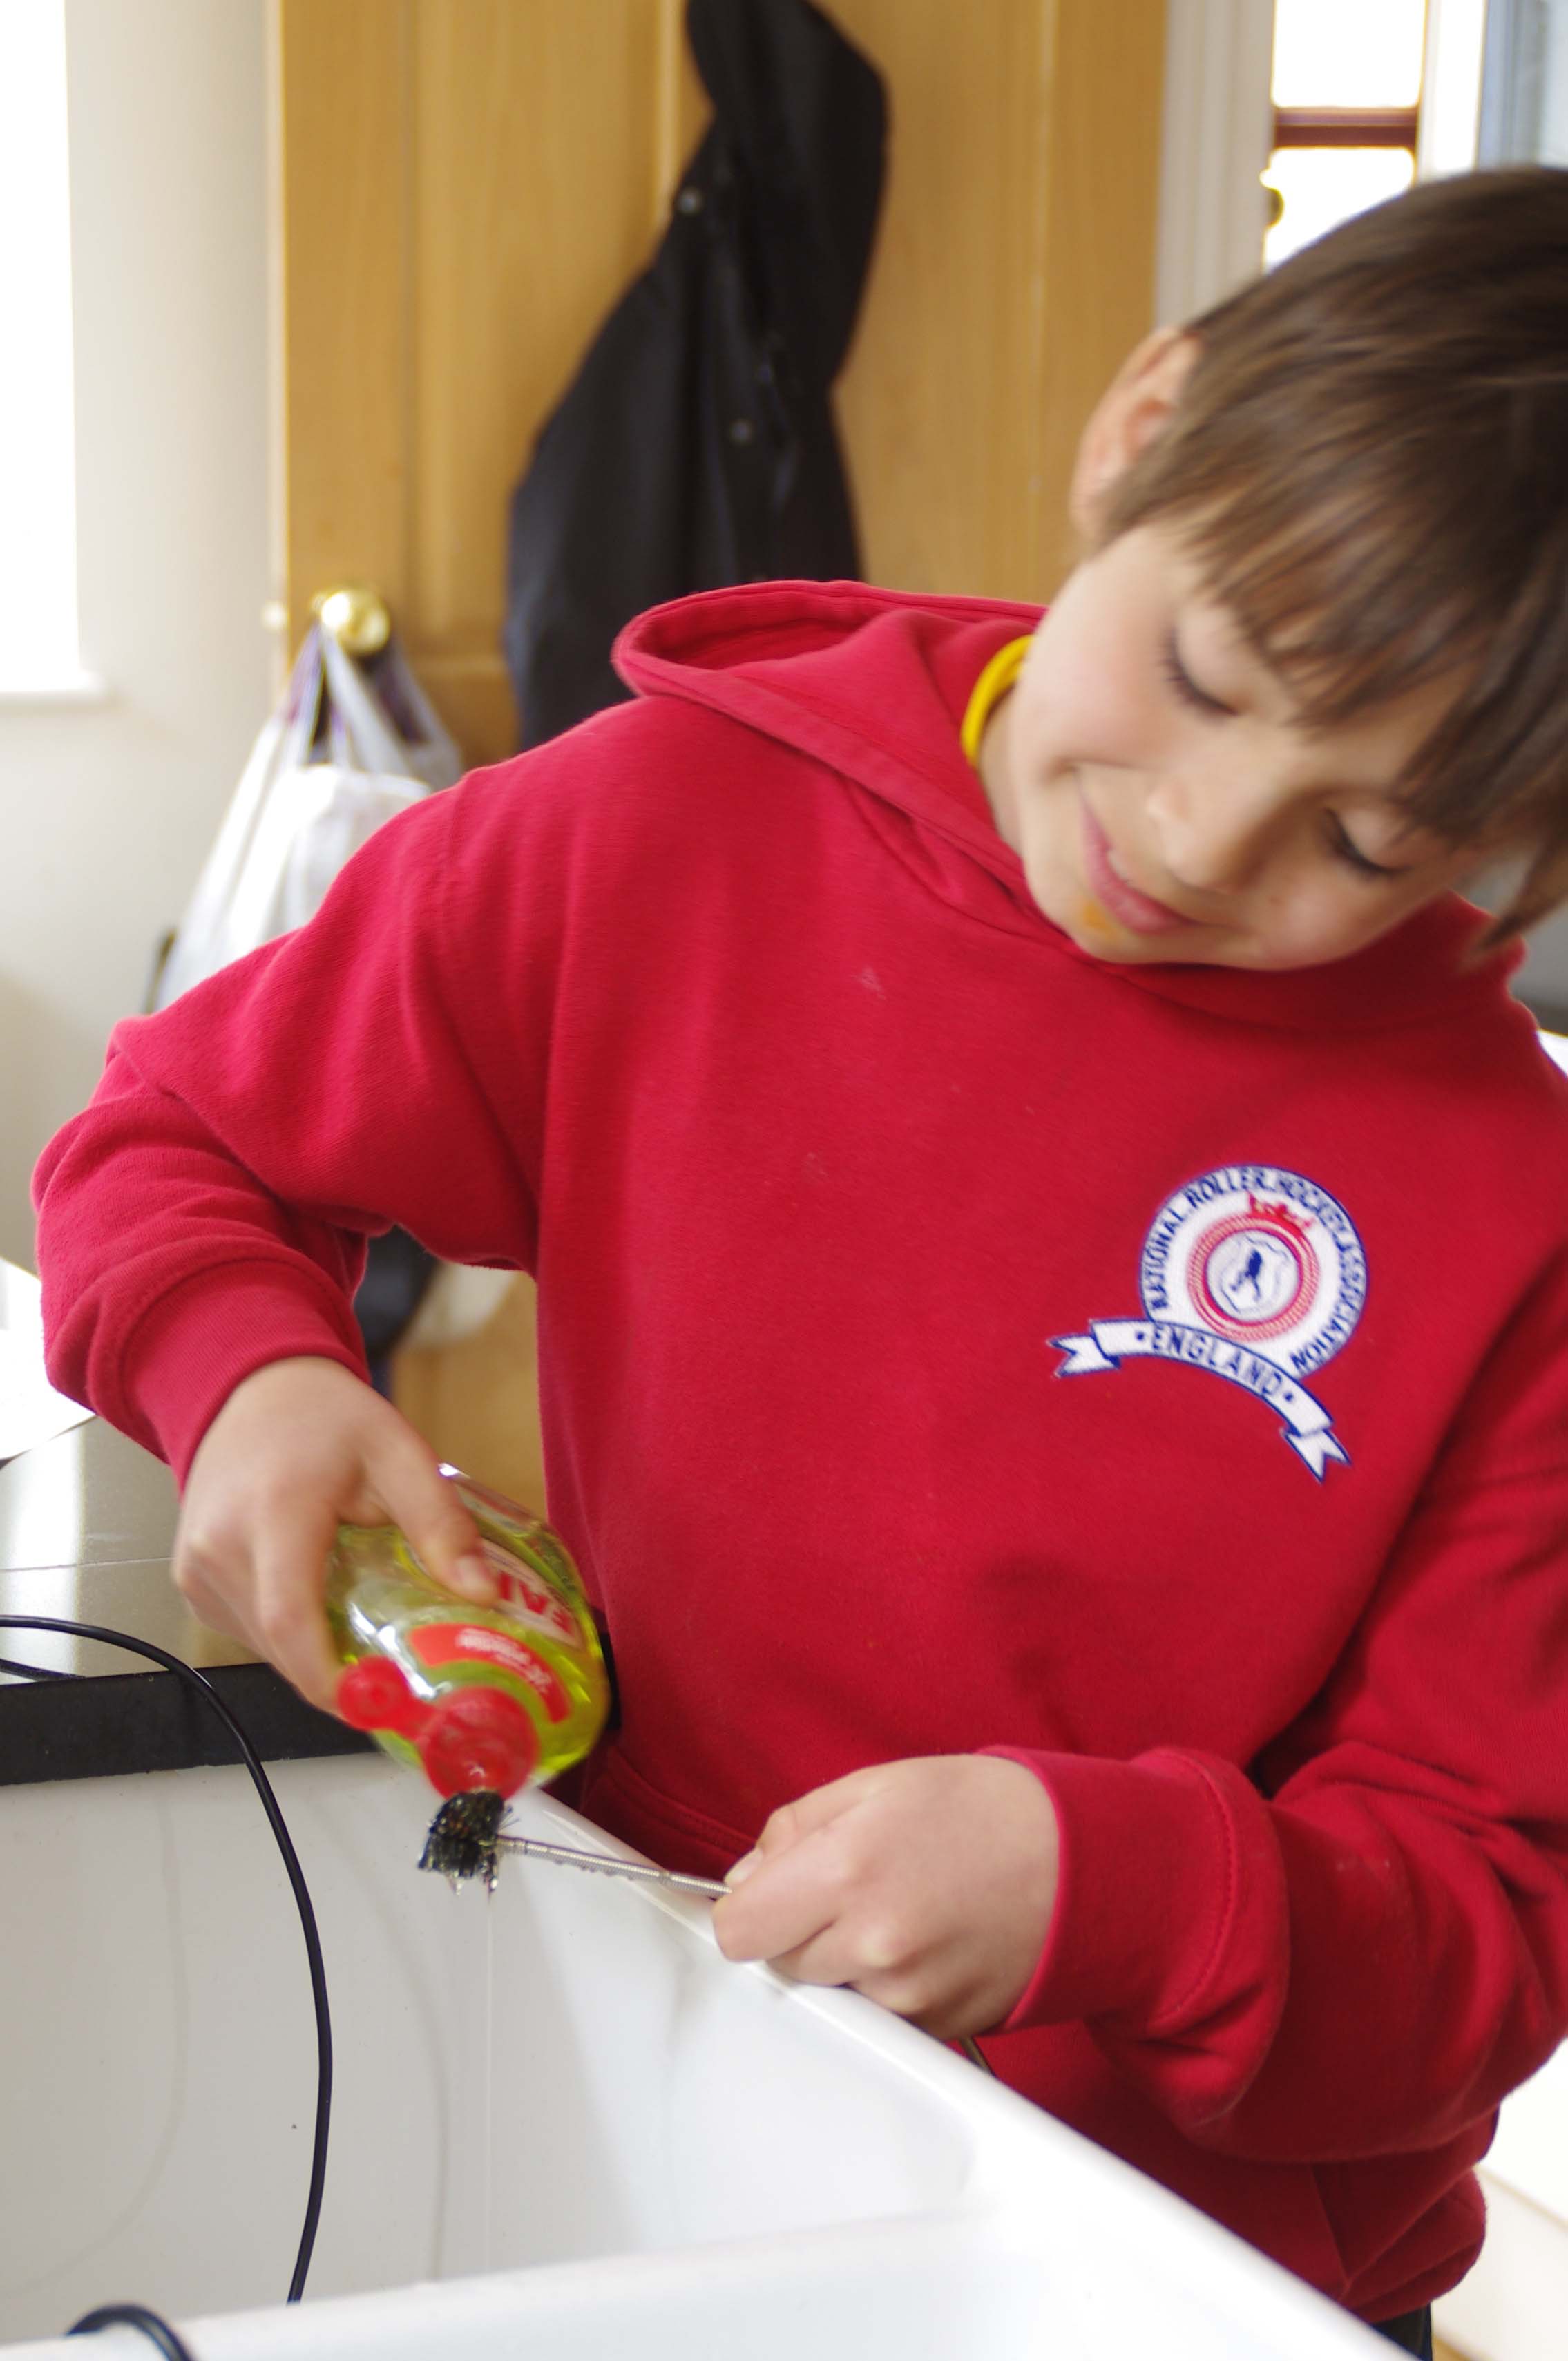
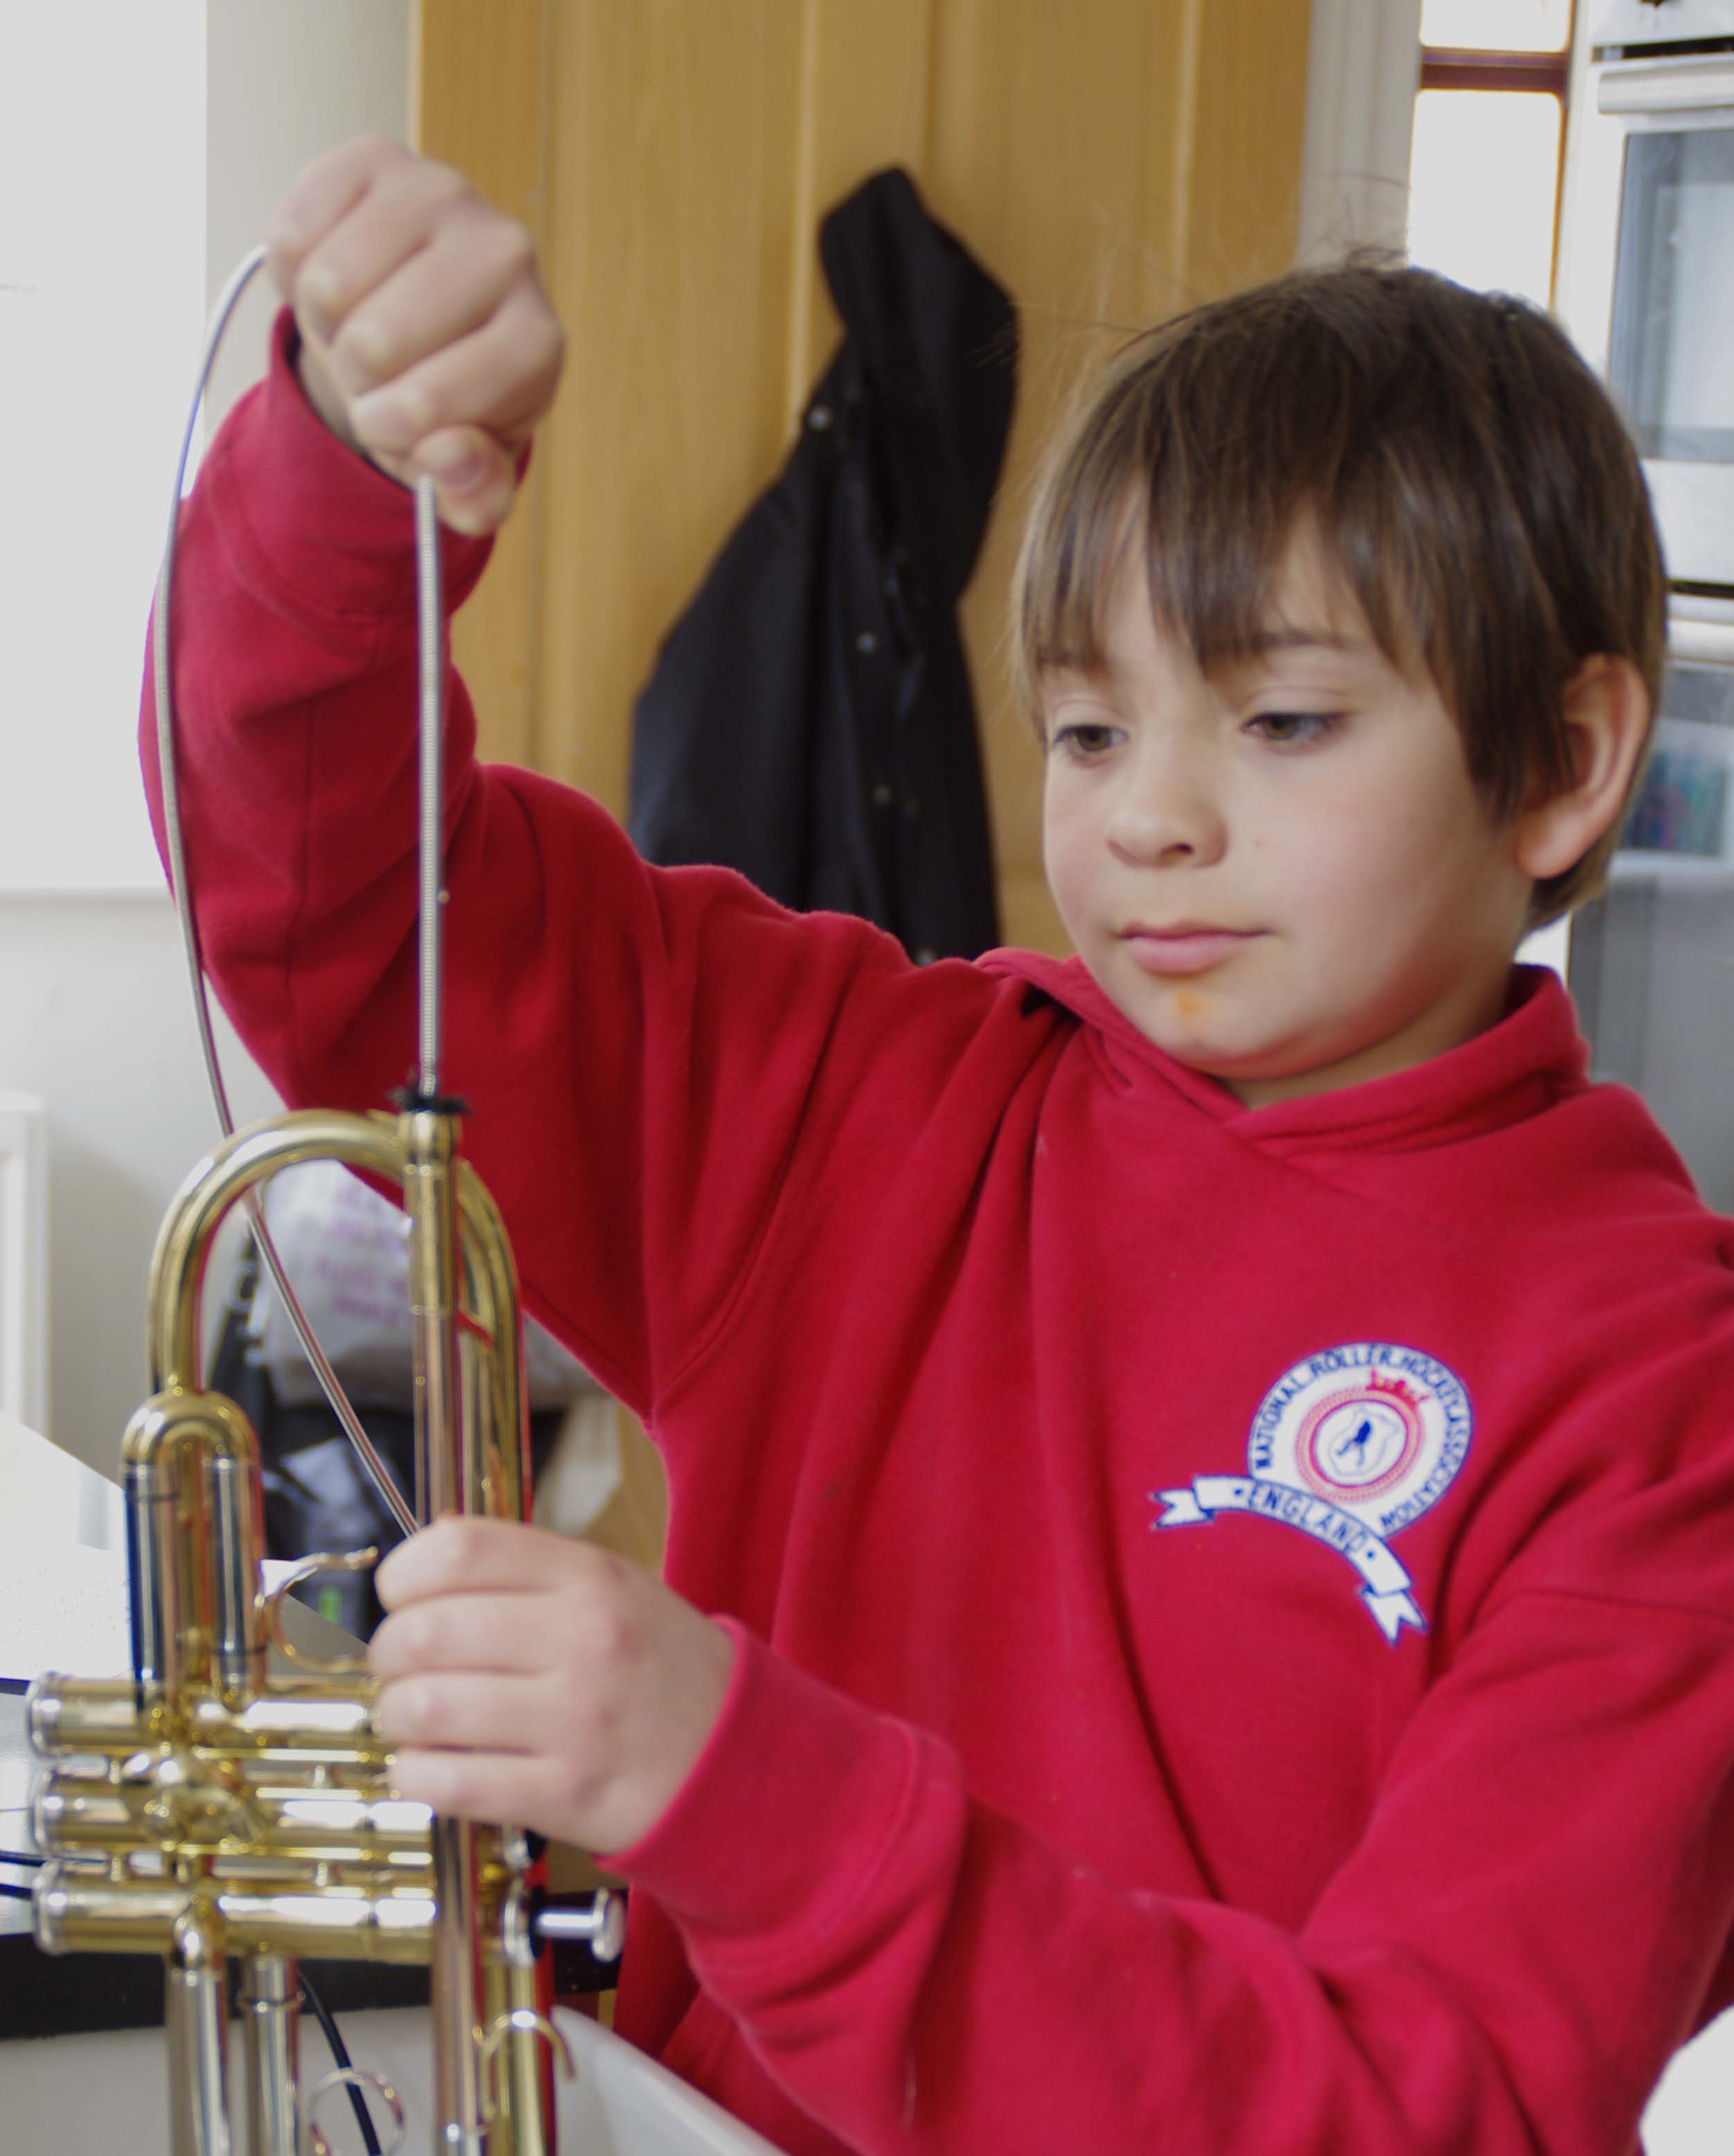
Put a small amount of detergent on a wet, flexible cleaning brush, and insert into the mouthpiece receiver. Feed it through the instrument till the brush reaches the valves. If you are not sure how far in to push the brush, you can wrap some tape around it 60cm (for a Bb trumpet) from the tip. In some cases, the brush will snag on the water key. Do not force it past this point. Use a gentle cleaning action to dislodge any dirt present in the bore.
Remove the brush and secure the valve slides with the supplied binders. Insert the exit hose into the trumpet’s mouthpiece receiver, using the elbow adapter. Stand the Flushmute in about 4”/10cm of clean warm water. Place the trumpet on top, and let the hose hang into a large bowl or bucket.Connect the power. Water will surge through the instrument, and you will be able to see the detergent and dislodged grime being evacuated. Depressing the valves while flushing will remove any additional loose deposits.
Be sure to disconnect the power before the bowl or bucket overflows.
Remove the brush and place the supplied hose into the mouthpiece receiver, using the elbow adapter.
Place the trumpet on to the Flushmute, hang the hose into a large bowl or bucket, and connect the power. Water should flow through the instrument and you will be able to see the deposits being evacuated.
Depressing the valves while flushing will remove any loose deposits in the valve slides.
Warnings:
Do not try to balance the trumpet on the Flushmute. The instrument can easily be held at all times.
Do not run the Flushmute from a computer. Computers do not like water!
Monthly Flush.
What you will need:
- Flushmute
- Kitchen sink
- Flat-bottom bowl or plastic bucket
- Flexible cleaning brush
- Spencer UK Bore Cleaner
- Power outlet (2-amp USB power cord and adapter supplied)
- Hose and leadpipe elbow (supplied)
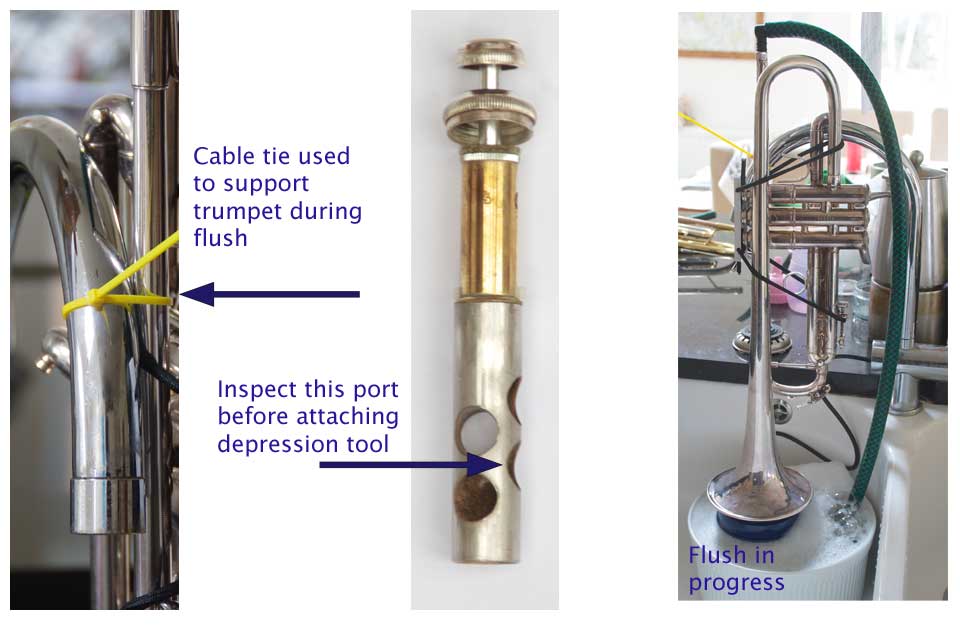
Carry out the weekly flush, but, in order to recirculate the solution, let the hose hang into the same water that the Flushmute is standing in. It is not feasible to hold the trumpet for a prolonged period, so find a way of supporting it before starting the flush (See photo).
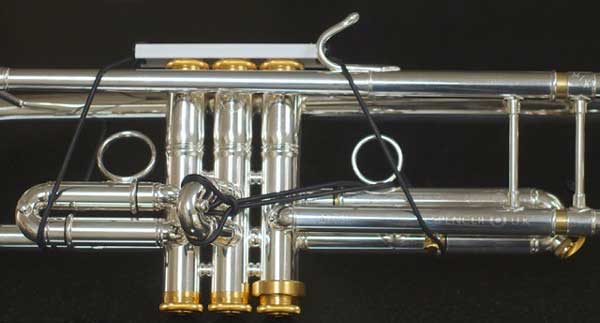
Leave the Flushmute running for at least 1/2 hour, attach the valve depresser, making sure that all of the valve slides are secured (See photo), and repeat. Empty the sink, and fill with 4”/10 cm of clean warm water. Flush the trumpet to remove any residual detergent (See ”Quick flush” above).
Chem-Flush.
What you will need:
- Flushmute
- Kitchen sink
- Plastic bowl or bucket
- Flexible cleaning brush
- Detergent
- Power outlet (2-amp USB power cord and adapter supplied)
- Hose and leadpipe elbow (supplied)
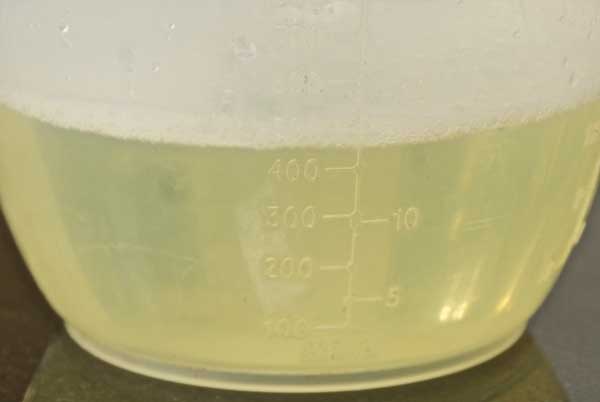
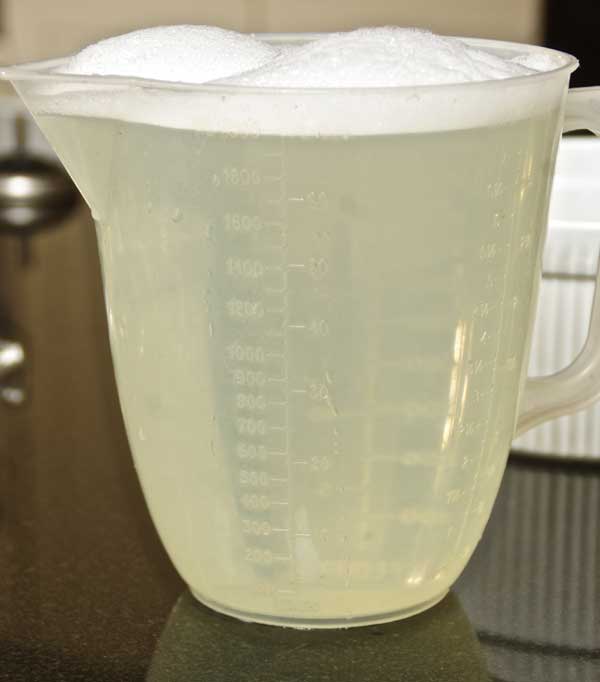
Dilute 1/2 litre of Spencer UK Bore Cleaner with 1 1/2 litres of water (See photos). To increase the efficacy of the enzymes in the cleaner, heat it in a microwave for about five minutes. Pour the solution into a flat-bottom bowl or bucket.
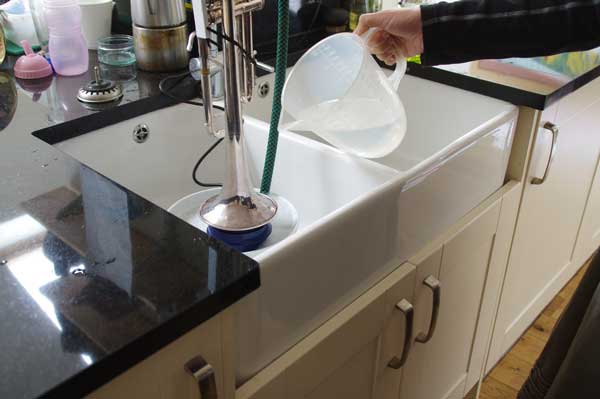
Find a way of supporting the trumpet before starting the flush (See photo). Insert the exit hose into the mouthpiece receiver, using the elbow adapter. Stand the Flushmute in the bowl. Place the trumpet on top, letting the hose hang into the solution. Connect the power. If the Flushmute hesitates, top up the solution with warm water (See photo).
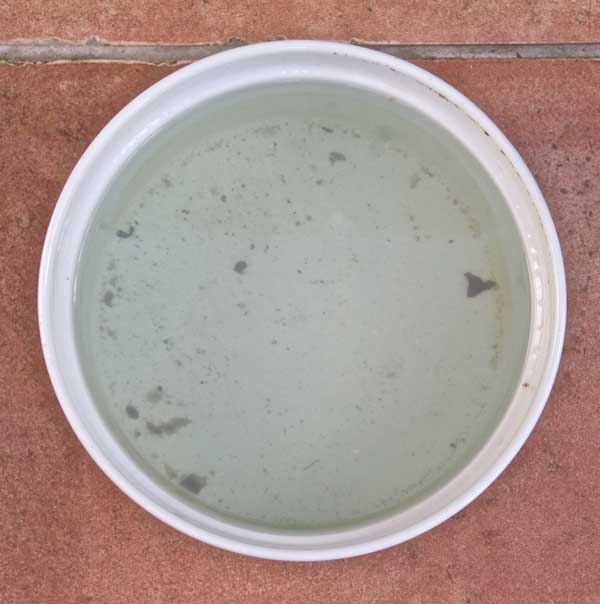
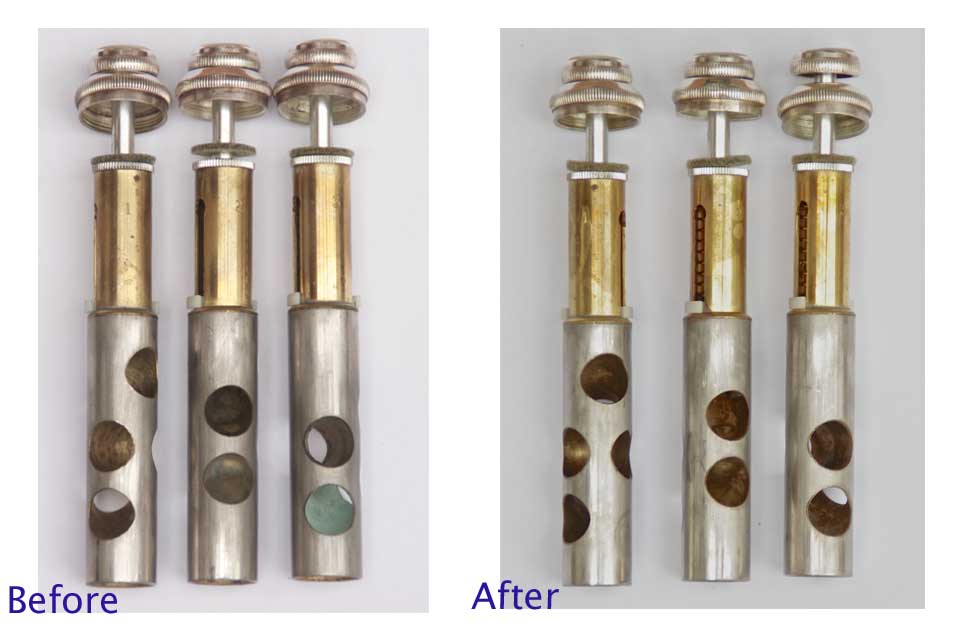
Supply power to the Flushmute and top up solution with warm water if required. To check the cleaning process, remove the valves every half hour, and inspect. Once all green/white deposits have dissolved in the valve port nearest to the leadpipe (see picture below).
Inspect the third valve every half hour. Once all the deposits have dissolved in the bottom ports (See photo), attach the valve depresser, making sure that all of the valve slides are secured (See photo).
Reheat the solution and repeat the flushing process. Check progress by inspecting the first and third valve slides, where the thickest deposits are found.
Once you have completed this process, dismantle the instrument, and clean as normal, rinsing any contaminated felts.
With a funnel and strainer, pour the used solution into a two-litre bottle for future use, and label it. This may provide you with as many as four additional flushes.